Part 1: Generating API Credentials in Shopify
To integrate your Shopify store with Spoki, you need to create a custom app within your Shopify admin panel. This process will generate the necessary API credentials that allow Spoki to securely connect to your store.
This guide will walk you through the entire process step-by-step. At the end, you will have four pieces of information to enter into your Spoki account:
- Shopify Email
- Store Name
- Shopify Admin Access Token
- Storefront Access Token
Let’s get started!
Step 1: Navigate to Apps and Sales Channels #
- Log in to your Shopify admin dashboard.
- On the left-hand navigation menu, click on Settings.
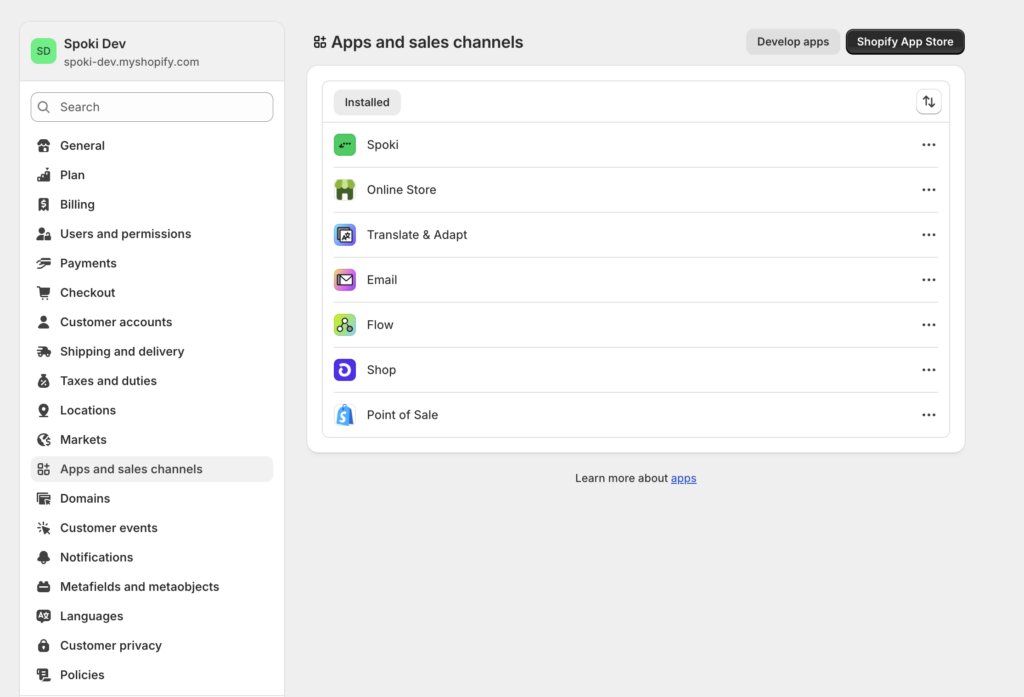
- In the Settings menu, click on Apps and sales channels.
- Click the Develop apps button.
Step 2: Create a New Custom App #
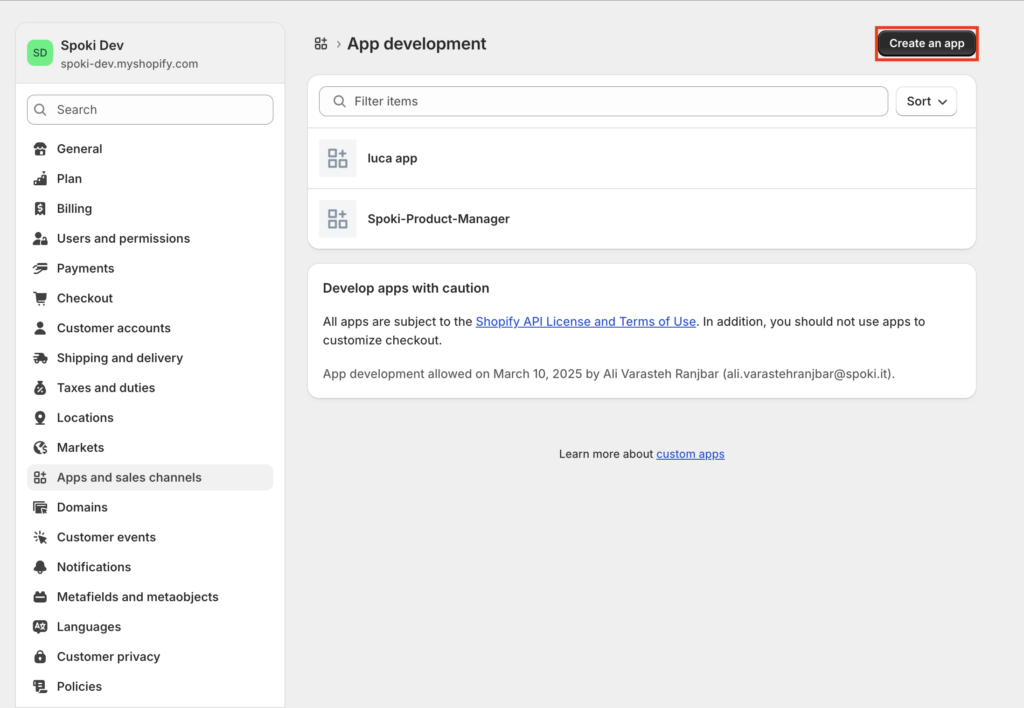
- On the “App development” page, click the Create an app button in the top right corner.
- A pop-up window will appear.
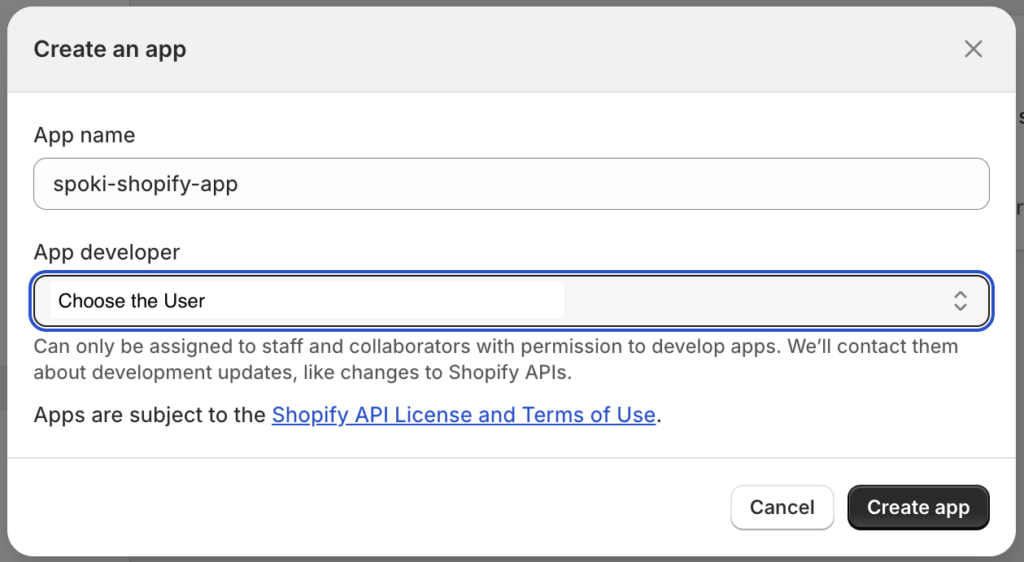
- In the App name field, enter a name that you’ll recognize, such as Spoki AI Integration.
- In the App developer dropdown, select your name or the store owner’s account.
- Click Create app.
Step 3: Configure Admin API Scopes (Permissions) #
After creating the app, you’ll land on its overview page. Now you need to grant it the necessary permissions to manage your products, orders, etc.
- Click on the Configuration tab.
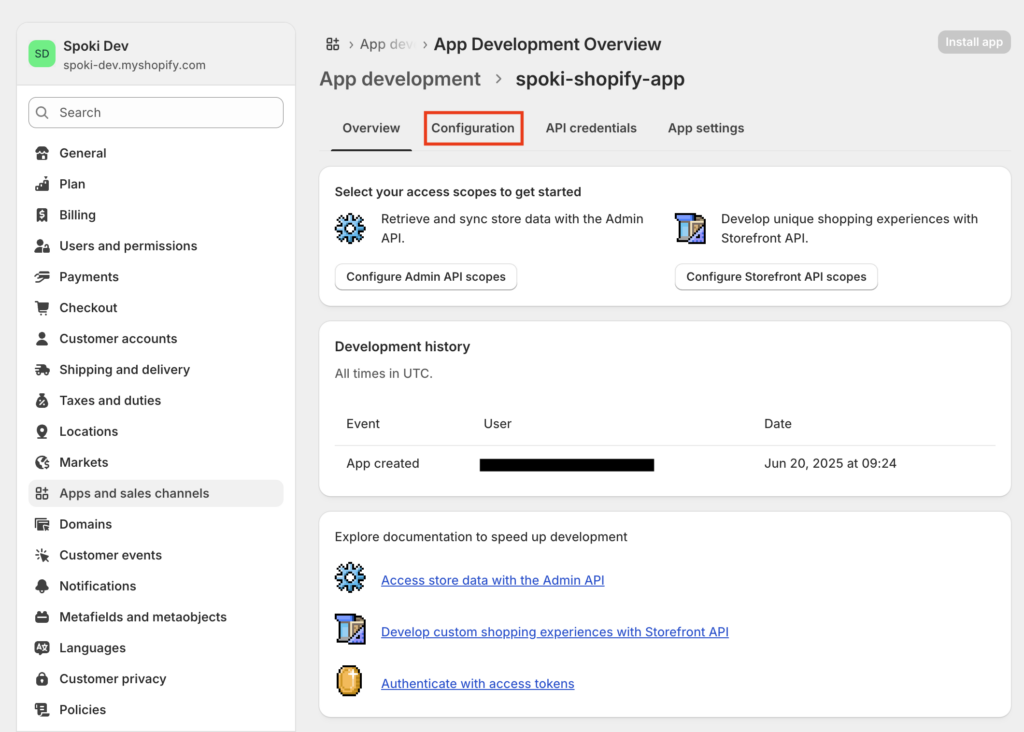
- Configure Admin API Scopes:
- In the “Admin API integration” section, click Configure.
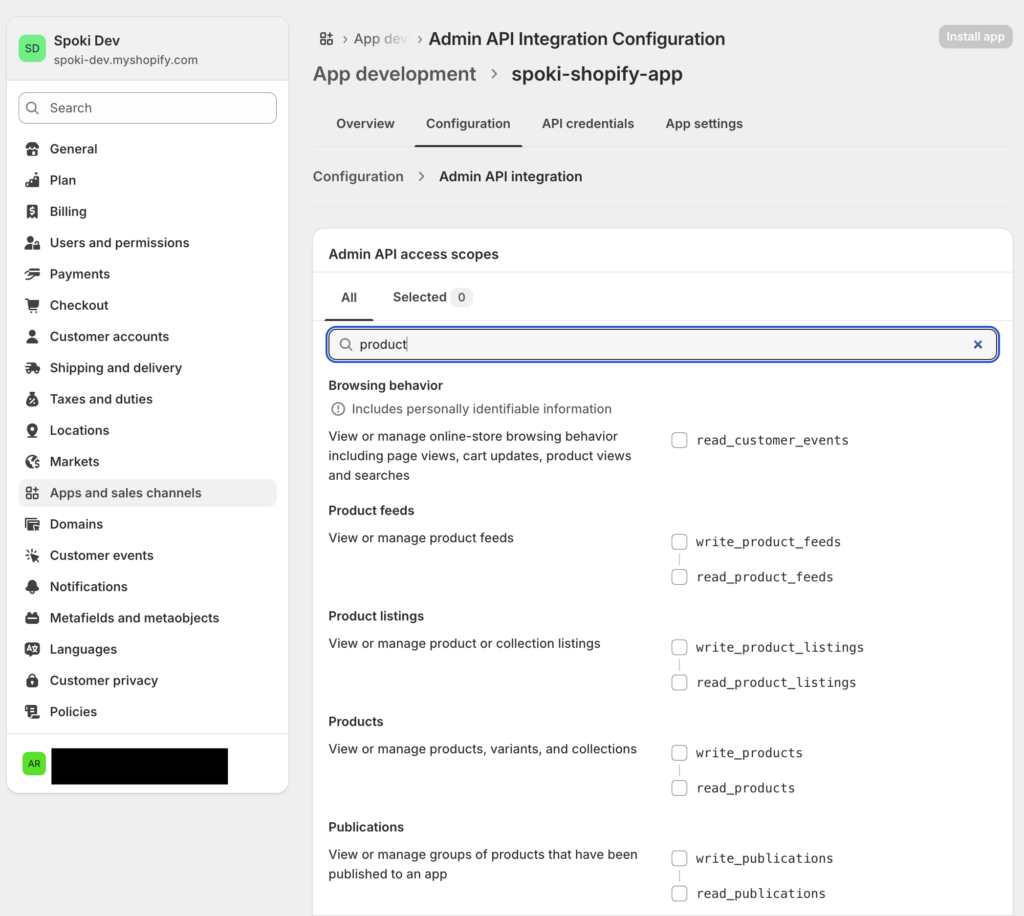
- Select the following permissions by checking the boxes next to them
- read_products
- write_product_listings and read_product_listings
- write_orders and read_orders
- write_customers and read_customers
- write_draft_orders and read_draft_orders
- Click Save.
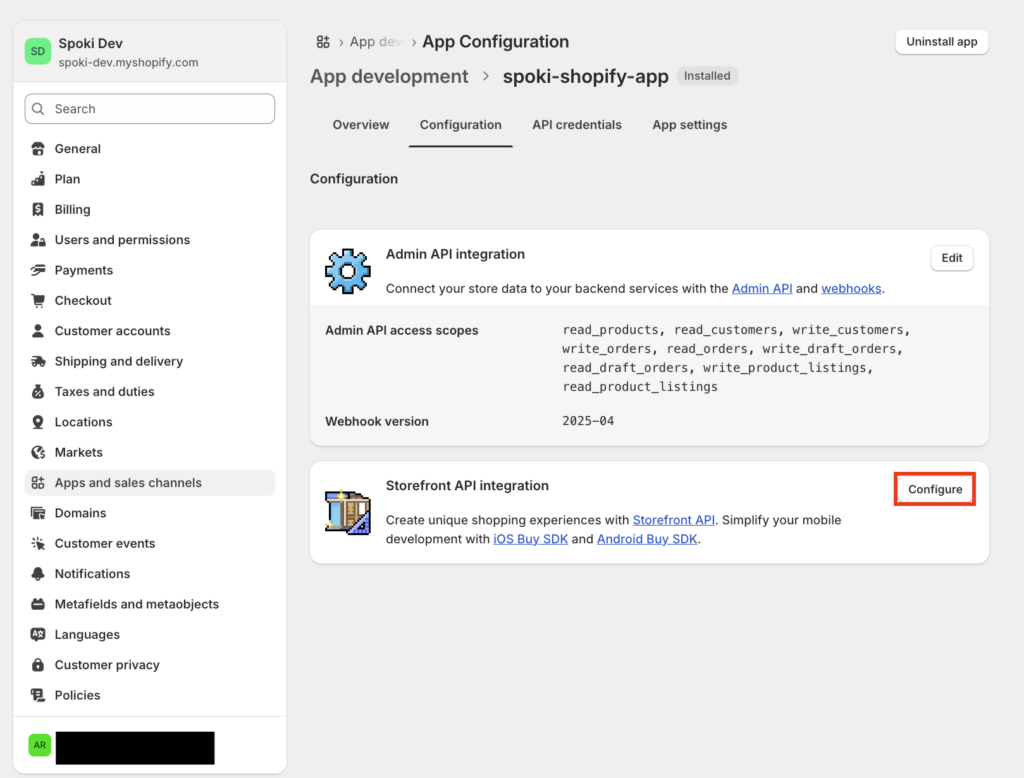
- Configure Storefront API Scopes:
- Go back to the Configuration tab.
- Scroll down to the “Storefront API integration” section and click Configure.
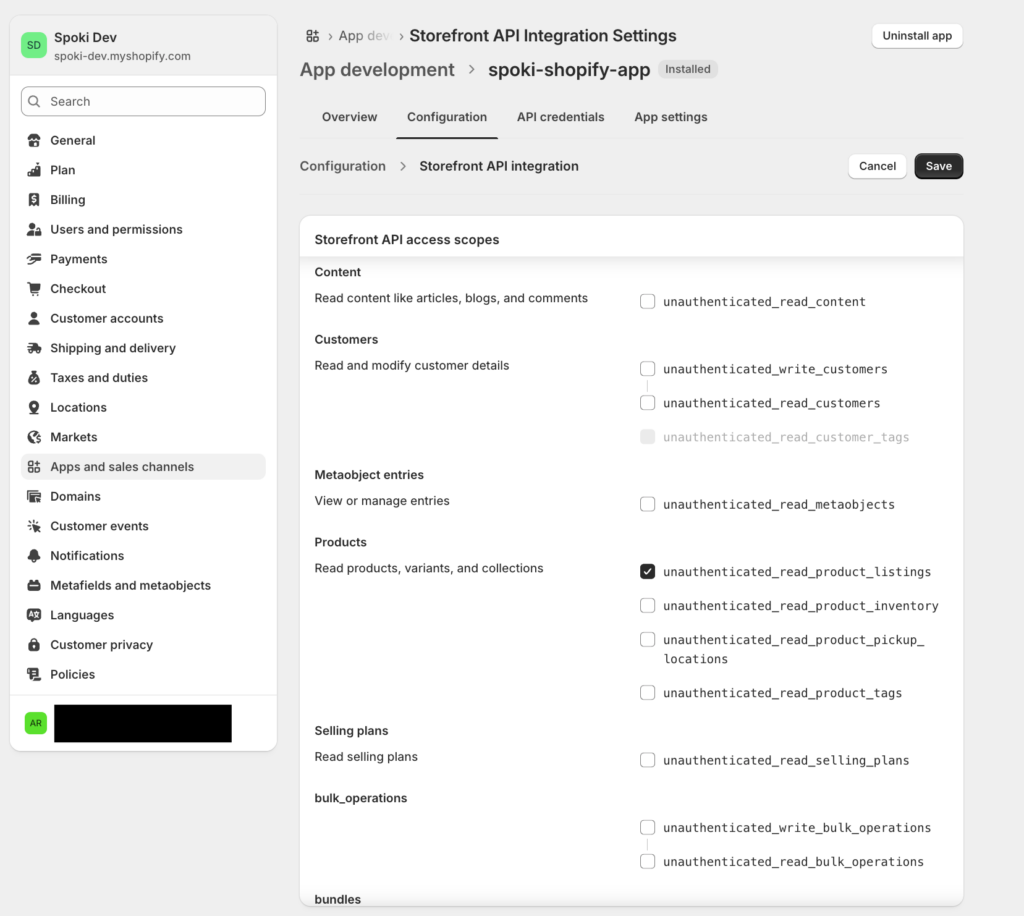
- Select the permissions needed for the Spoki AI to search your store, such as unauthenticated_read_product_listings. (Note: Select all scopes recommended by Spoki for full functionality).
- Click Save.
Step 4: Install the App and Retrieve Your Credentials #
Now that the permissions are configured, you can install the app on your store to generate the final API credentials.
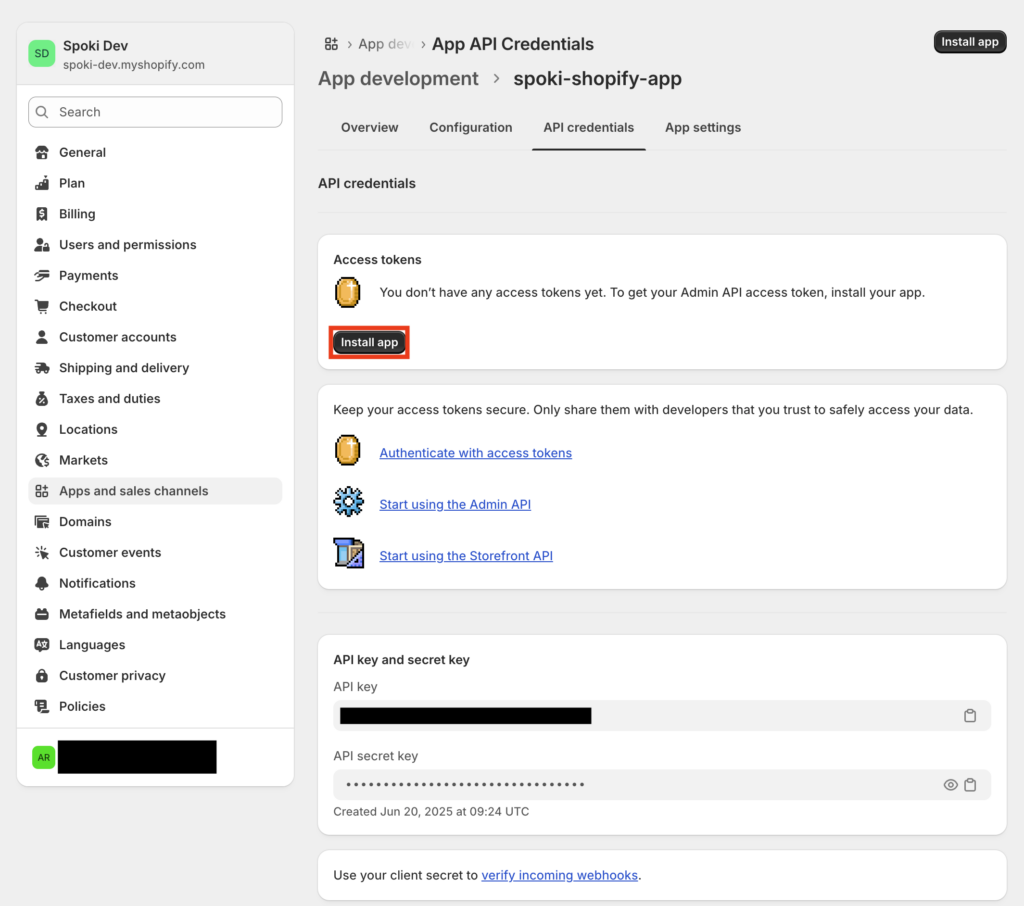
- Click on the API credentials tab.
- Click the Install app button at the top right.
- A confirmation pop-up will appear. Click Install.
Step 5: Copy Your API Keys and Access Token #
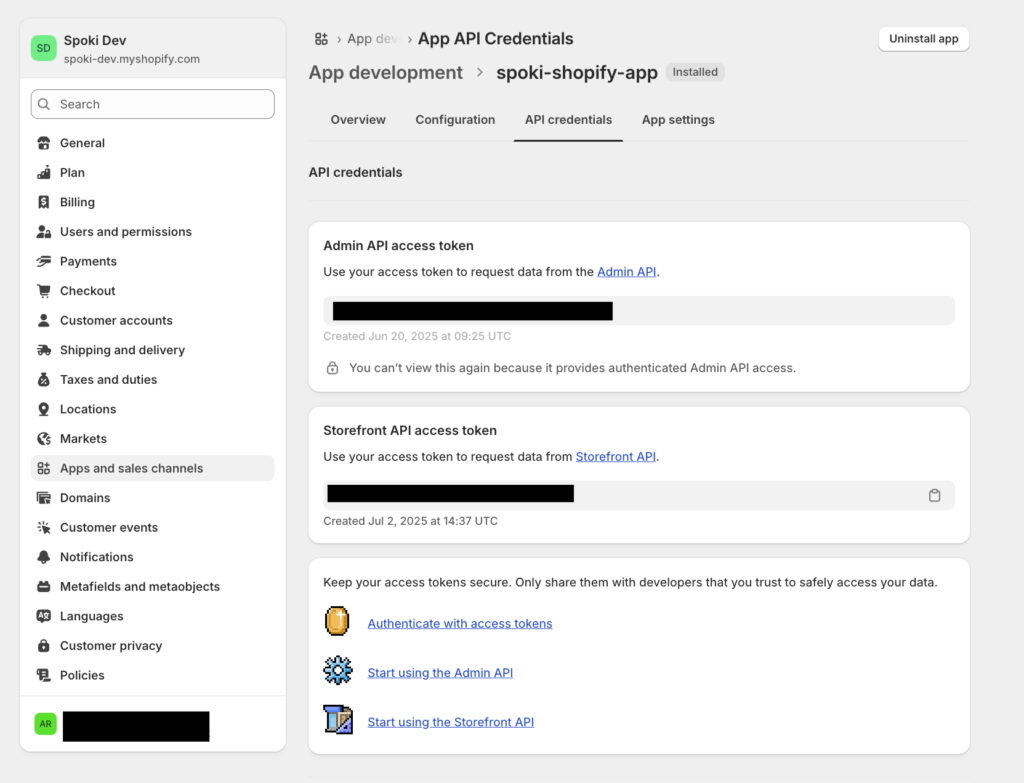
After installation, you will be taken back to the API credentials page. This is where you will find all the keys needed for the Spoki integration.
IMPORTANT: The Admin API access token is only shown ONCE. For security reasons, you cannot view it again after you leave this page. Please copy it and save it in a safe place immediately.
- In the “Admin API access token” section, click Reveal token once.
- The token will be revealed. Copy this token and paste it into the corresponding field in your Spoki setup page.
- The Storefront API access token will be visible. Copy this value as well.
Part 2: Connecting to Spoki #
Now that you have your Shopify credentials, let’s enter them into your Spoki dashboard.
Step 1: Navigate to AI Integrations in Spoki #
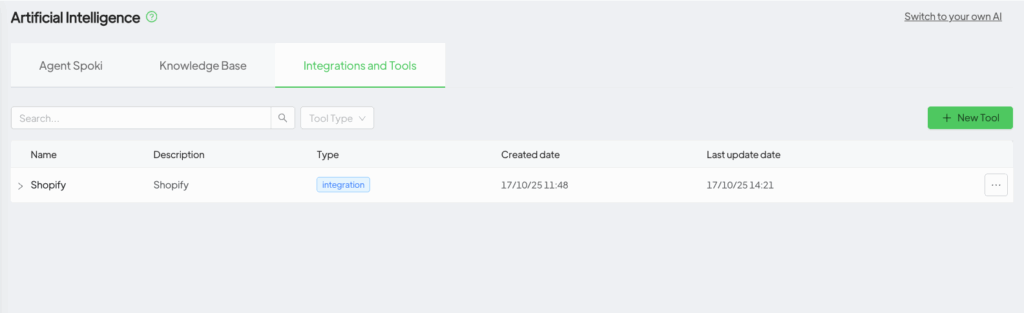
- In your Spoki dashboard, go to the AI section from the left-hand menu.
- Select the Integrations and Tools tab.
- Scroll down to the AI Integrations section and click the Add Integrations button.
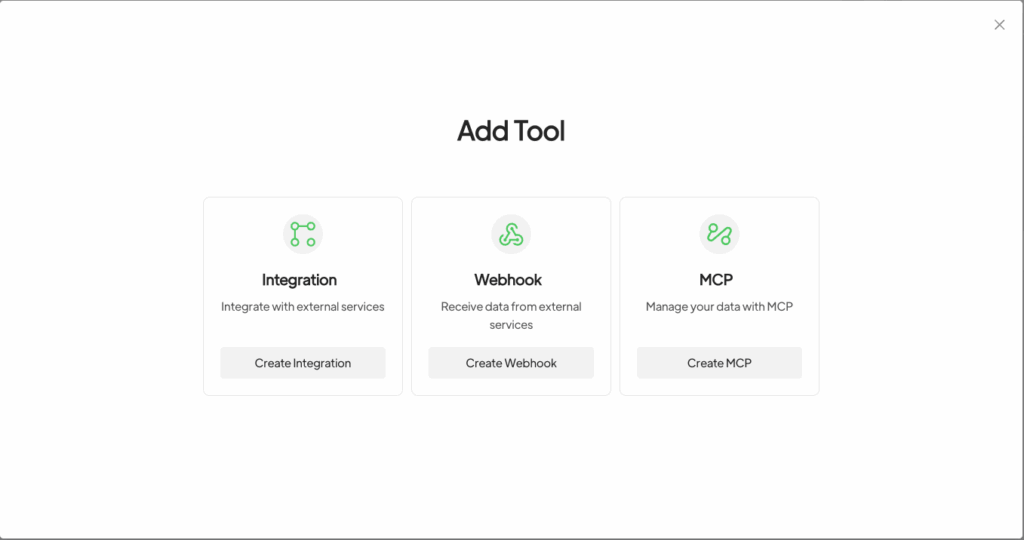
Step 2: Choose the Shopify Integration #
- A pop-up will appear listing available integrations.
- Click on Shopify to proceed.

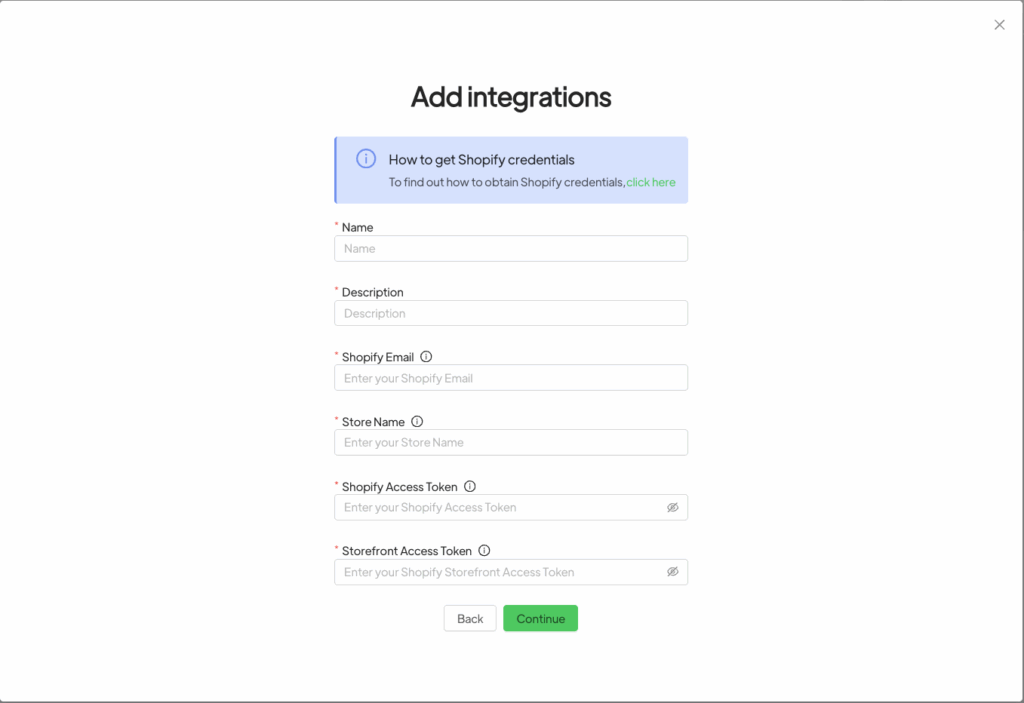
Step 3: Enter Your Shopify Credentials #
This is where you’ll paste the information you gathered in Part 1.
- Shopify Email: Enter the email address you use to log in to Shopify.
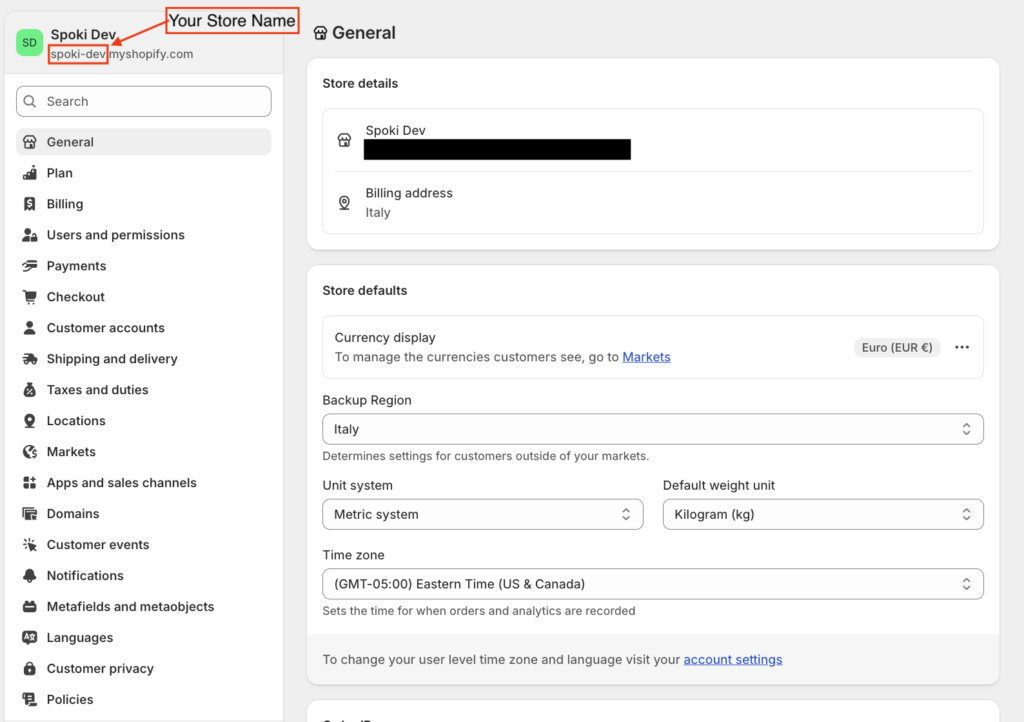
- Store Name: Enter the unique part of your
<your-store-name>.myshopify.comURL. For example, if your URL isspoki-dev.myshopify.com, you would enter spoki-dev. - Shopify Access Token: Paste the Admin API Access Token you copied from Shopify in Part 1, Step 5.
- Storefront Access Token: Paste the Storefront API Access Token you copied from Shopify in Part 1, Step 5.
Once all fields are filled, click Save.
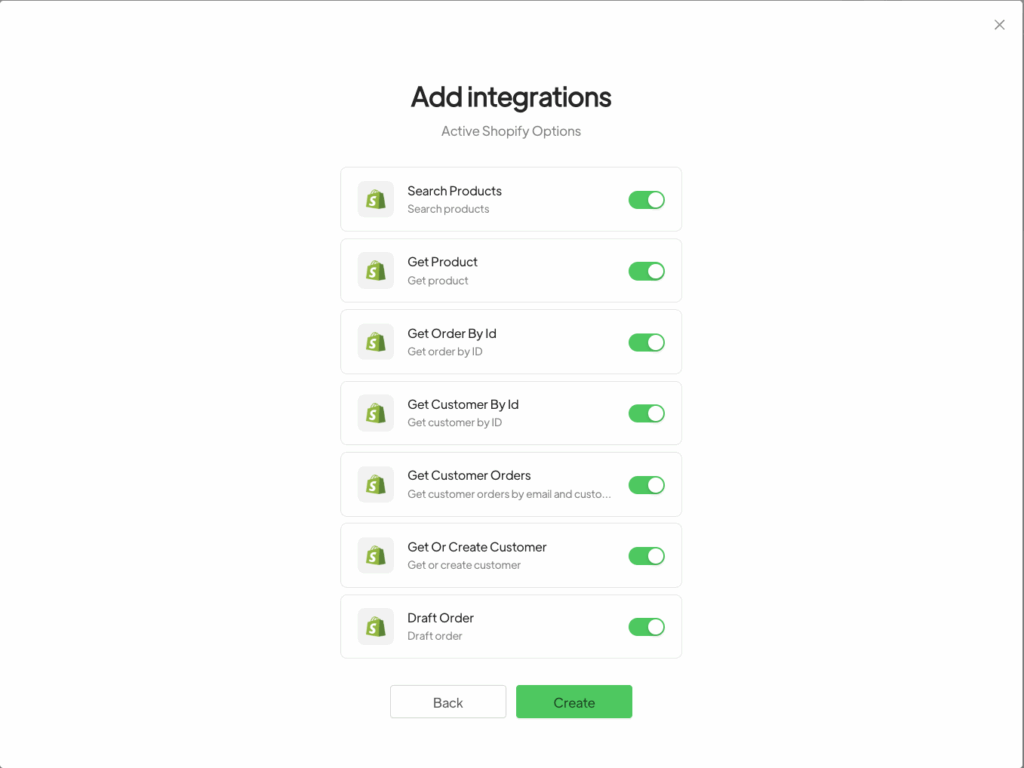
Step 4: Activate Shopify Options #
After saving your credentials, you will be taken to the final step where you can activate the specific AI functions you want to use.
- Toggle on the features you want the Spoki AI to handle, such as Search Products, Get Order by ID, Create Draft Order, etc.
- Click Save.
Congratulations! Your Shopify store is now fully integrated with your Spoki AI Sales Agent. The connection is active, and the AI can now use the functions you enabled.
Key Shopify Documentation Links: #
- Custom Apps Overview: Explains what custom apps are and why they are used.
- API Access Scopes: A developer page that explains what permissions (scopes) are and why they’re needed. Very useful for users who want to understand what they are granting access to.
- Admin API Authentication: Explains how the Admin API tokens work.
- Storefront API Overview: Explains what the Storefront API is used for.
Related Articles:
https://support.spoki.com/en/docs/integrations/integrate-whatsapp-with-shopify/
https://support.spoki.com/docs/integrazioni/connect-shopify-to-spoki-ai-sales-agent/


