Introducing AI Agent Builder: Create Your Custom AI Assistant #
Transform your customer interactions with our powerful new AI Agent Builder. While AI Agents have been part of our platform, you now have complete control to create custom AI assistants tailored to your specific business needs.
What Are AI Agents? #
AI Agents are intelligent virtual assistants that can handle customer inquiries, support sales processes, and perform automated tasks based on your business requirements. With our enhanced platform, you can now build agents that truly understand your business by customizing their behavior, knowledge, and capabilities.
Getting Started with AI Agent Builder #
Accessing the AI Agent Dashboard #
Navigate to the AI section in your Spoki dashboard’s left sidebar. You’ll find three essential tabs:
- Agent – Manage and create your AI agents
- Knowledge Base – Store information for your agents
- Integrations and Tools – Connect external services
The Agent tab displays your agent management dashboard, where you can:
- View all your created agents in an organized list
- Monitor agent status (Active/Inactive/Draft)
- Track creation and last update dates
- Identify agent types (Custom Agent, Customer Agent, Sales Agent)
- Toggle agents on or off with a simple switch
Creating Your First AI Agent #
Step 1: Choose Your Agent Type #
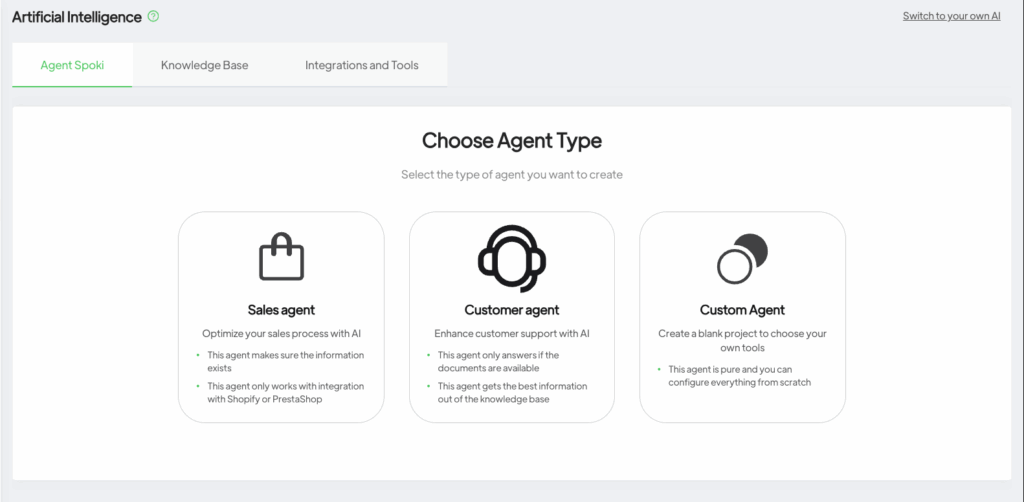
The platform offers three agent types to match different business needs:
Sales Agent #
- Optimizes your sales process with AI
- Ensures information accuracy from your knowledge base
- Requires integration with Shopify or PrestaShop
- Best for: E-commerce businesses wanting to automate product recommendations and sales inquiries
Customer Agent #
- Enhances customer support with intelligent responses
- Only answers questions when documentation is available
- Extracts optimal information from your knowledge base
- Best for: Support teams managing high ticket volumes
Custom Agent #
- Complete freedom to configure everything from scratch
- Full control over behavior, knowledge, and tools
- Build specialized agents for unique business processes
- Best for: Businesses with specific requirements or advanced use cases
For this guide, we’ll focus on the Custom Agent option, which provides maximum flexibility.
Step 2: Name Your Agent #
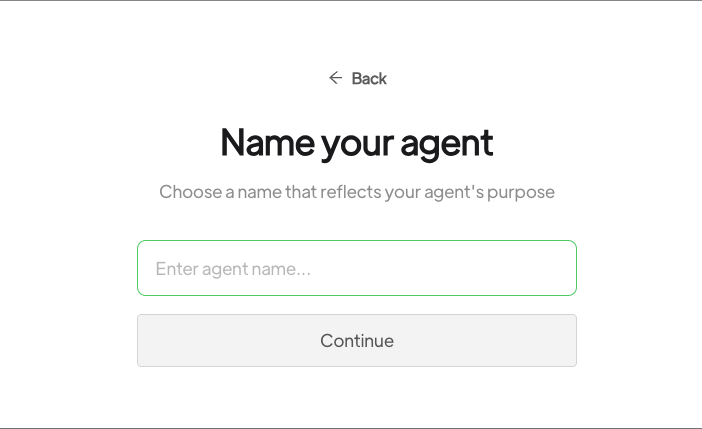
Click the green “+ New Agent” button in the top-right corner. A modal window will appear asking you to name your agent. Choose a descriptive name that reflects your agent’s purpose, such as “Product Support Assistant” or “Order Processing Agent.”
Click Continue to proceed to agent type selection.
Step 3: Configure Your Custom Agent #
After selecting Custom Agent, you’ll enter the agent configuration interface with several key sections:
Configuring the System Prompt #
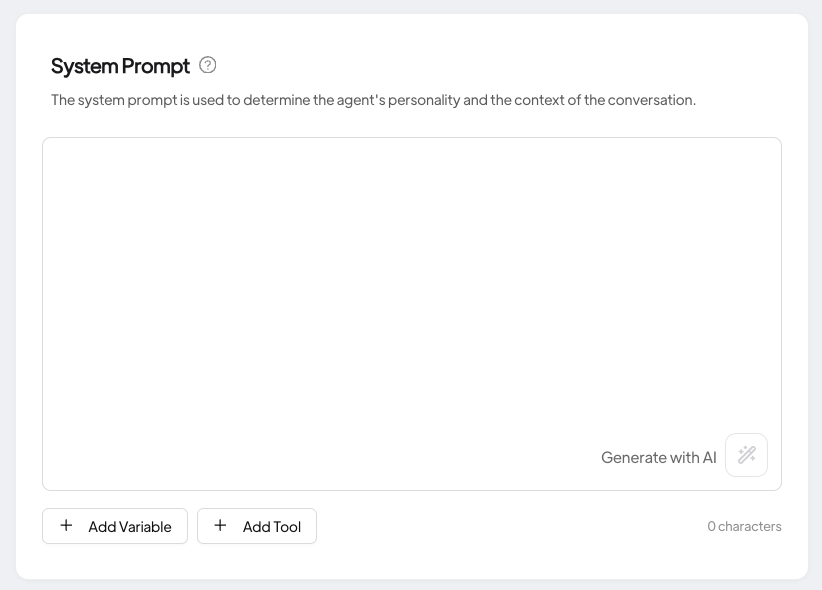
The System Prompt is the foundation of your AI agent’s personality and behavior. This text field allows you to define:
- Your agent’s role and purpose
- Communication style and tone
- Specific instructions for handling inquiries
- Limitations and boundaries
- Response guidelines
You can manually write your prompt or click “Generate with AI” to create a starting point based on your agent’s purpose.

Adding Variables and Tools #
Below the system prompt, you’ll find options to:
- Add Variable – Insert dynamic placeholders that can be populated with user-specific data
- Add Tool – Connect external functions your agent can use
Adjusting Temperature Settings #
The Temperature slider controls your agent’s response creativity:
- Lower temperature (Deterministic) – More focused, consistent, and predictable responses
- Medium temperature (Creative) – Balanced between consistency and variety
- Higher temperature (More Creative) – More diverse and creative responses with increased randomness
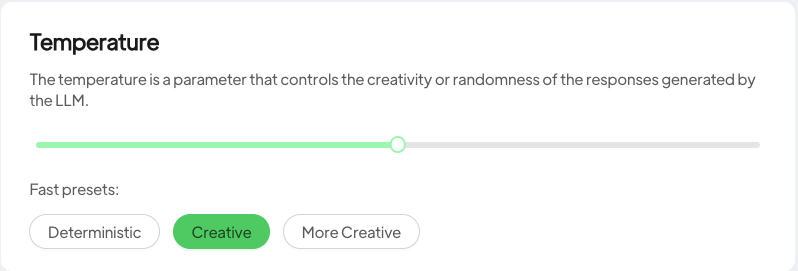
Quick presets available:
- Deterministic (recommended for support agents requiring accuracy)
- Creative (default balanced setting)
- More Creative (for agents needing varied, engaging responses)
Tip: For customer support and transactional agents, keep temperature lower for accuracy. For creative or marketing agents, higher temperatures can generate more engaging content.
Building Your Agent’s Knowledge Base #
The Agent’s knowledge base section allows you to provide domain-specific information that helps your agent answer questions accurately.
Adding Documents to Your Agent #

Click the “Add document” button in the Agent’s knowledge base section. This opens your document library where you can:
- Browse previously uploaded knowledge resources
- Select existing documents to add to this agent
- Create and upload new knowledge sources
Simply check the documents you want this agent to access, or add new ones directly from this interface. Your agent will use this information to provide accurate, context-aware responses based on your business data.
Configuring Agent Tools and Integrations #

The Agent’s tools section enables your agent to perform specific actions beyond answering questions. Click “Add integrations & Tools” to:
- View your existing tools and integrations
- Select which capabilities this agent should have
- Create new custom tools and webhooks
- Connect e-commerce platforms like Shopify or PrestaShop
This is where your agent transforms from a simple chatbot into a powerful automation tool that can check inventory, process orders, update tickets, and more.
Setting Up Default Reply #
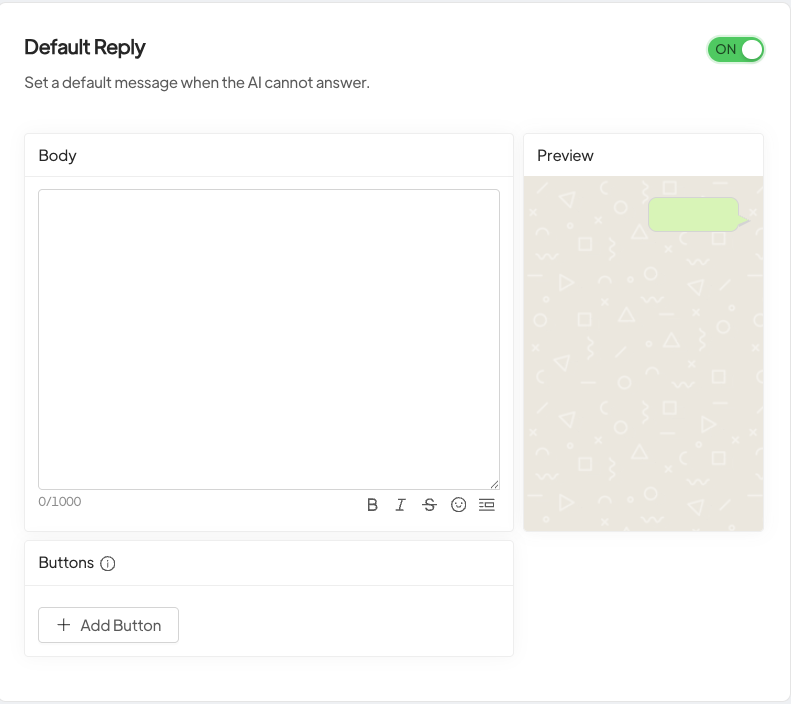
The Default Reply toggle allows you to configure a fallback message when your agent cannot answer a user’s question. When enabled, you can customize the message that users receive, ensuring they’re never left without a response. This maintains a professional experience even when the agent reaches its knowledge limits.
Best practice: Include guidance on how users can reach human support in your default reply message.
Testing Your Agent in Playground #
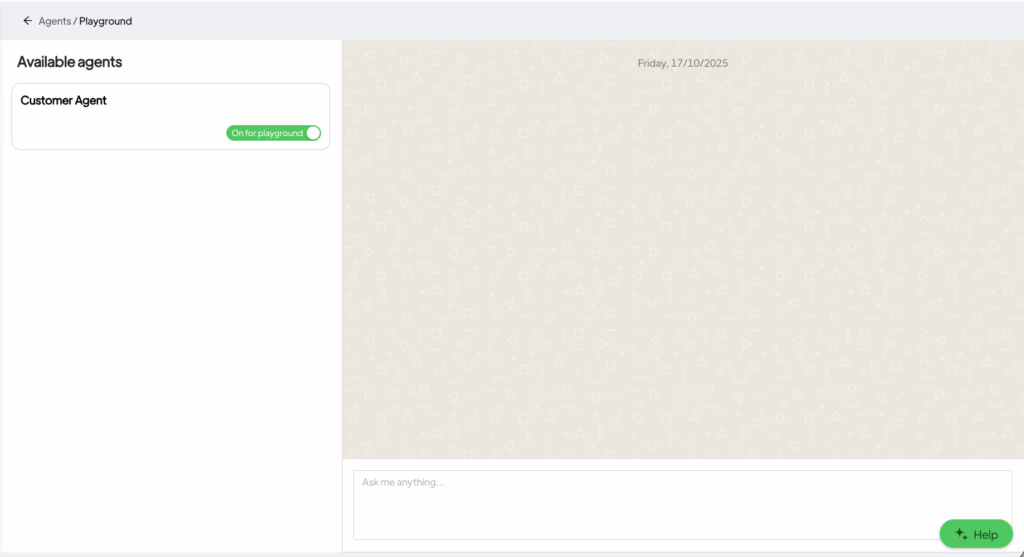
Before deploying your agent, use the Playground button in the top-right corner to test its behavior. The Playground opens a modal chat interface where you can:
- Send test messages to your agent
- Evaluate response quality and accuracy
- Verify tool integrations are working
- Refine your system prompt based on results
- Test edge cases and challenging scenarios
This sandbox environment lets you perfect your agent before it interacts with real customers.
Managing Your Knowledge Base #
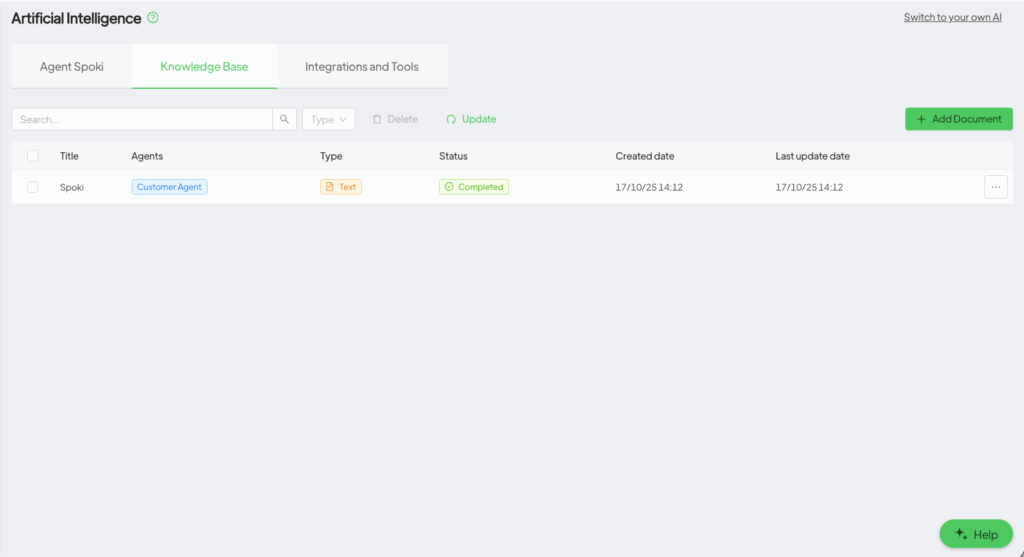
Navigate to the Knowledge Base tab to access your centralized repository of information that powers all your AI agents.
Knowledge Base Overview #
The Knowledge Base dashboard displays:
- All uploaded and created knowledge resources
- Which agents are currently using each document
- Document types and formats
- Creation and modification dates
- Quick actions to edit or delete knowledge
This centralized management makes it easy to maintain consistent information across multiple agents.
Creating New Knowledge Resources #
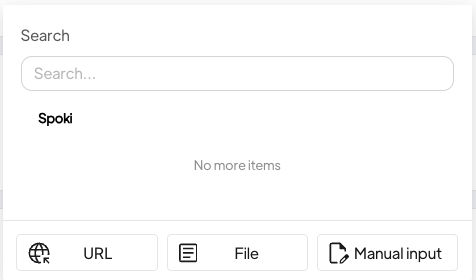
Click “Add document” to create a new knowledge source. You’ll choose from three input methods:
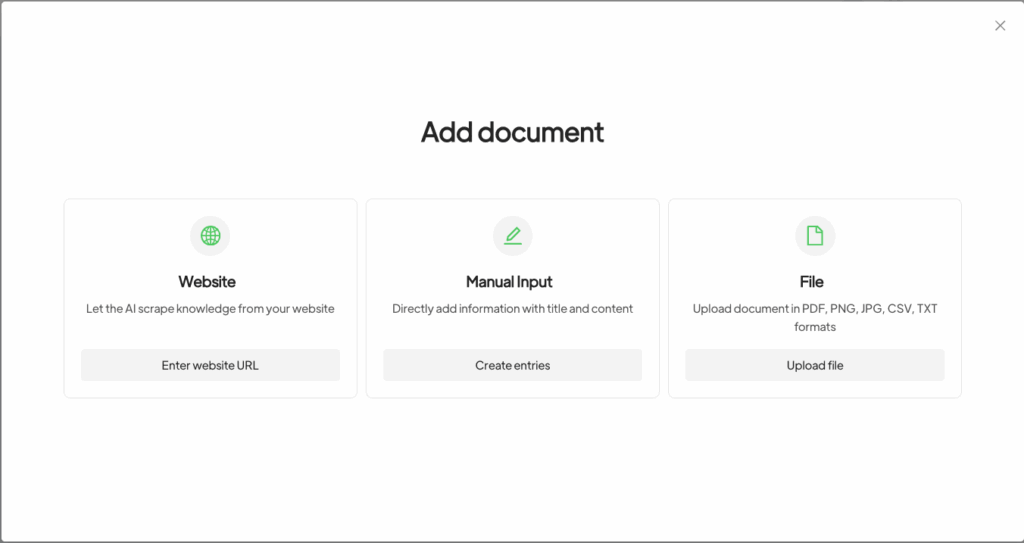
Website Scraping #
Perfect for pulling information directly from your website or documentation:
- Enter the website URL you want to scrape
- The system analyzes and lists all available pages
- Select specific pages you want to include
- The agent extracts and processes content from chosen pages
Use cases: Product documentation, help centers, blog content, policy pages
Manual Input #
Simple text-based knowledge entry:
- Write or paste your content directly into the text field
- Format information clearly for optimal agent comprehension
- Save and assign to relevant agents
Use cases: FAQs, specific procedures, company policies, talking points
File Upload #
Support for various document formats:
- PDF documents – Product manuals, guides, reports
- Images – Product photos, diagrams, infographics (with OCR processing)
- CSV files – Product catalogs, pricing lists, inventory data
The system processes these files and makes the information searchable and accessible to your agents.
Important: Assigning Knowledge to Agents #
Critical note: Newly created knowledge is not automatically available to your agents. You must explicitly assign knowledge resources to each agent either:
- During agent creation in the “Agent’s knowledge base” section
- By editing an existing agent and adding the knowledge
This gives you precise control over what information each agent can access, allowing you to create specialized agents with focused expertise.
Integrations and Tools: Extending Agent Capabilities #
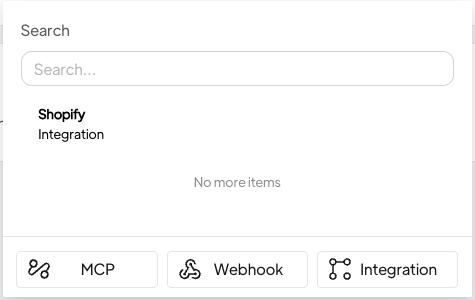
The Integrations and Tools tab is where your agents gain the power to take action. Here you can view all available tools, their types (Webhook, Integration, MCP), and create new capabilities.
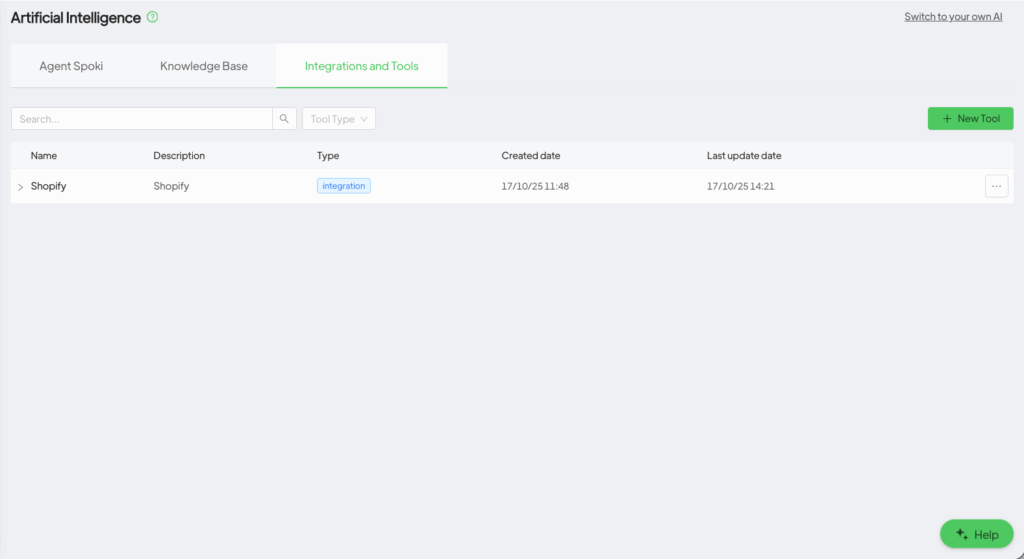
Creating New Tools #
Click the “New Tool” button to add capabilities to your agents. You’ll choose from three tool types:
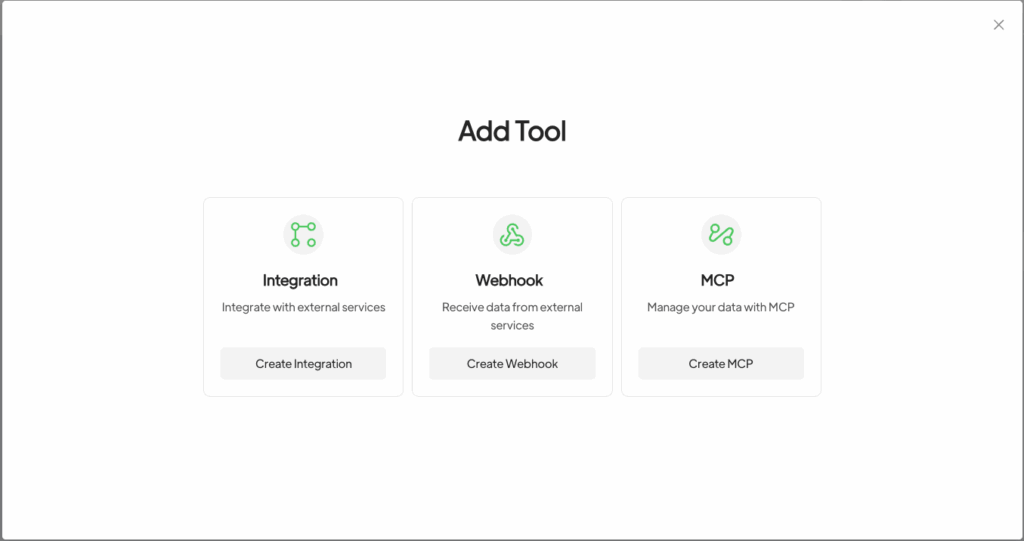
1. Integration Tools #
Pre-built connections to popular e-commerce platforms that enable your agents to:
- Check product availability and pricing
- Process orders and refunds
- Update customer information
- Track shipments
- Manage inventory
Currently Available Integrations: #
Shopify Integration
Connect your Shopify store to enable agents to access product catalogs, process orders, and manage customer data.
📖 Read the complete Shopify integration guide →
PrestaShop Integration
Integrate your PrestaShop store for seamless e-commerce operations through your AI agents.
📖 Read the complete PrestaShop integration guide →
We’re continuously expanding our integration library. More platforms coming soon!
2. Webhook Tools #
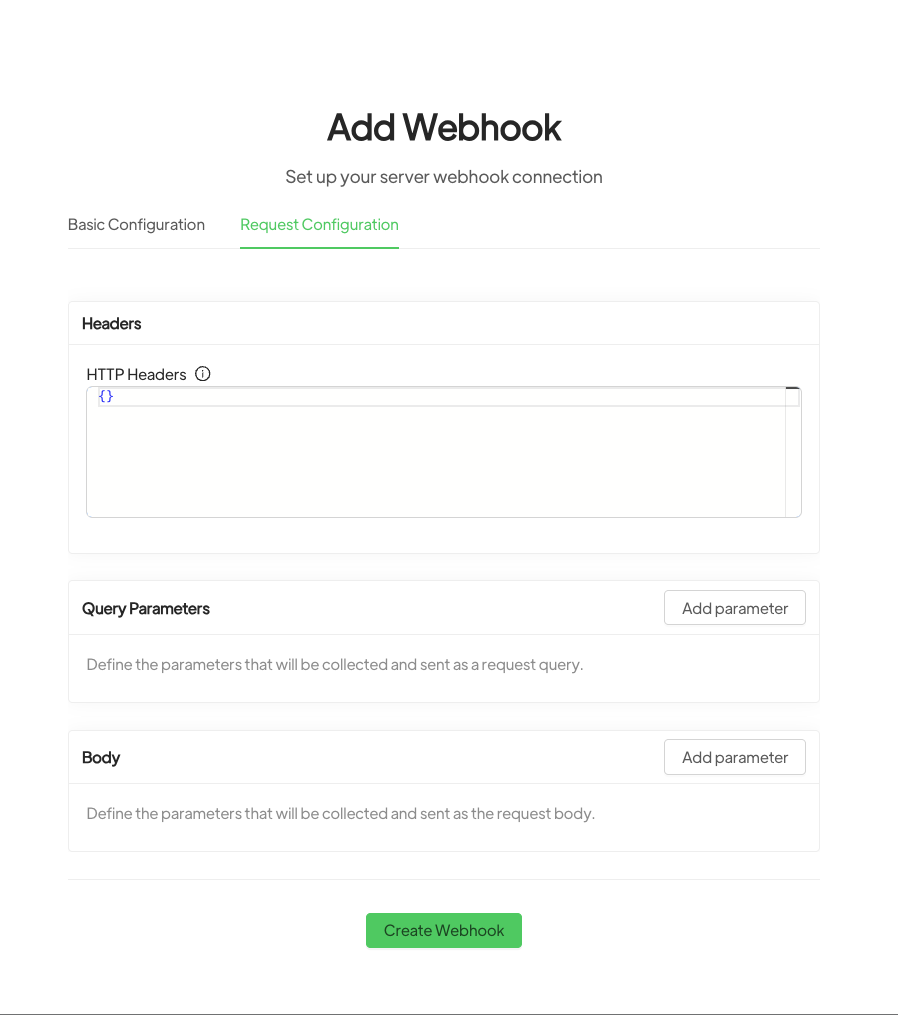
Create custom webhooks to connect your agents with any external service or internal system:
- Trigger actions in your CRM
- Send notifications to team channels
- Update external databases
- Connect to proprietary systems
- Build custom workflows
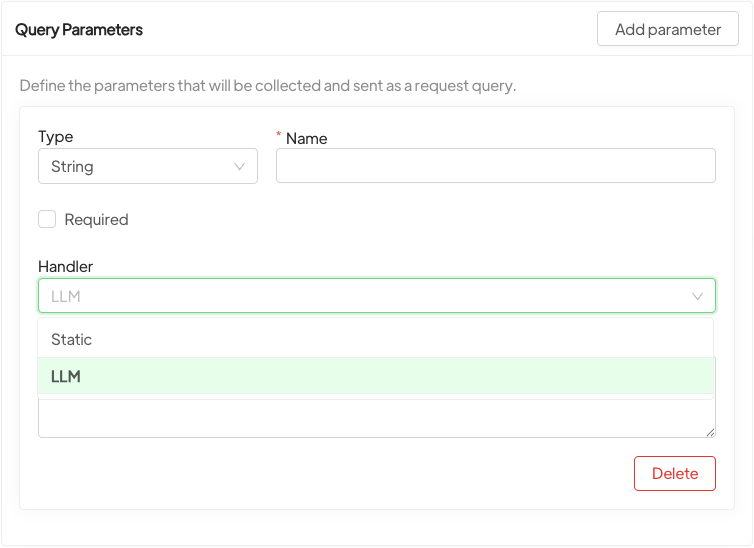
Webhooks provide unlimited flexibility to adapt agents to your unique tech stack.
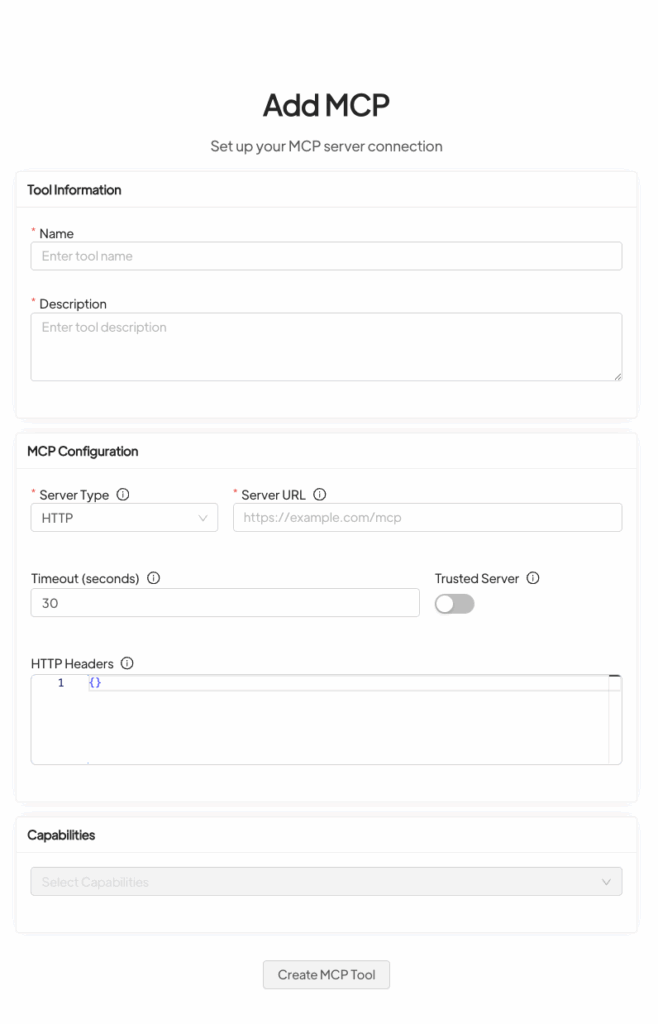
3. MCP (Model Context Protocol) Tools #
Advanced protocol for extending agent capabilities with custom functions and data sources. MCP tools enable sophisticated integrations for complex business processes.
Important notes: #
- Automatic messages will end with “Written by AI“
- Chats where the AI replies will remain unread for review
- If an operator responds manually, the AI will not intervene until it’s re-enabled


