PrestaShop provides a Webservice API that allows external applications—such as AI-powered tools—to connect with your store, retrieve data, and perform specific actions. By enabling and configuring the Webservice, you can seamlessly integrate your Prestashop store with Spoki AI.
Part 1: Install Spoki PrestaShop Plugin #
To use the PrestaShop order-creation feature in Spoki’s AI plugin, go to the Integrations section in Spoki and locate PrestaShop. Download the latest version (v2.6.0) and install it in your PrestaShop store. Once installed, the AI tool will be able to create orders automatically.
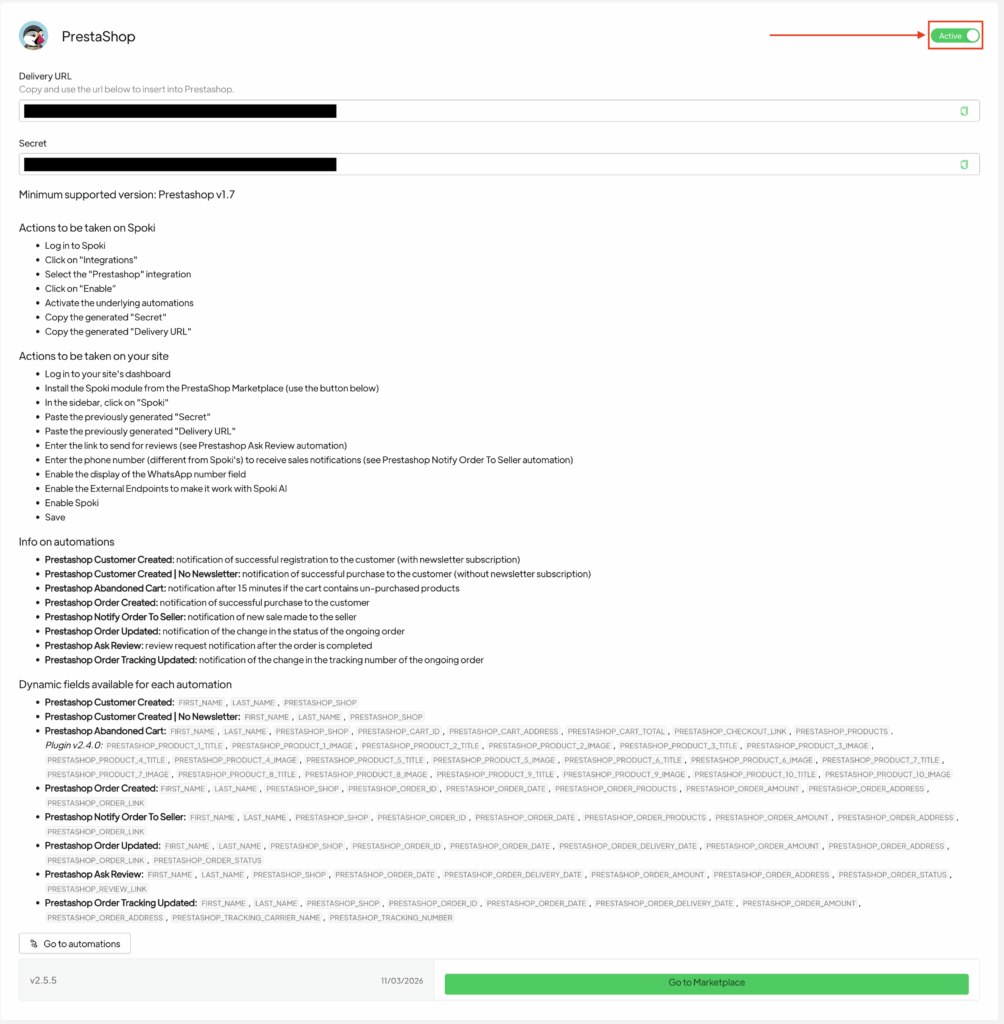
In oder to enable Prestashop you should do these steps.
- Login to your Prestashop Backoffice
- Go To Modules
- Go To Market place
- Download Spoki module.
- Activate the Spoki AI integration
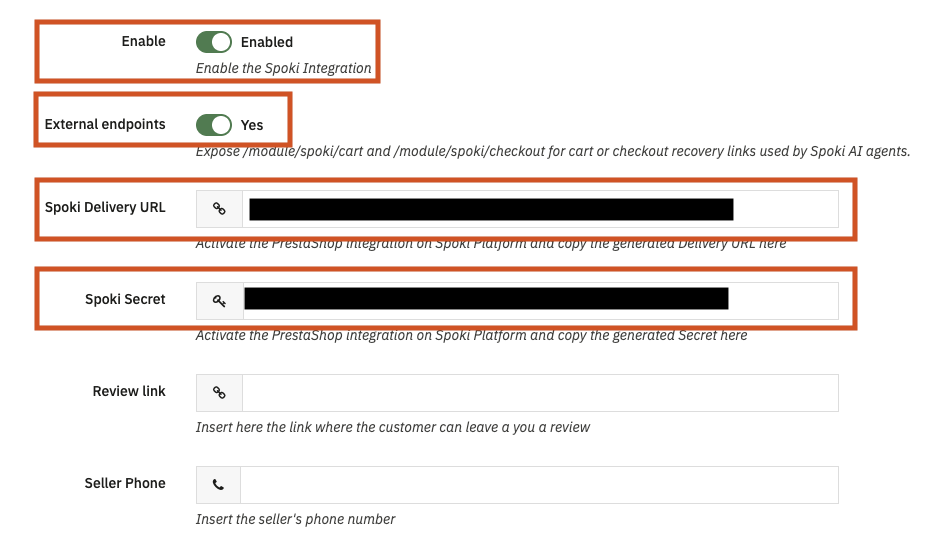
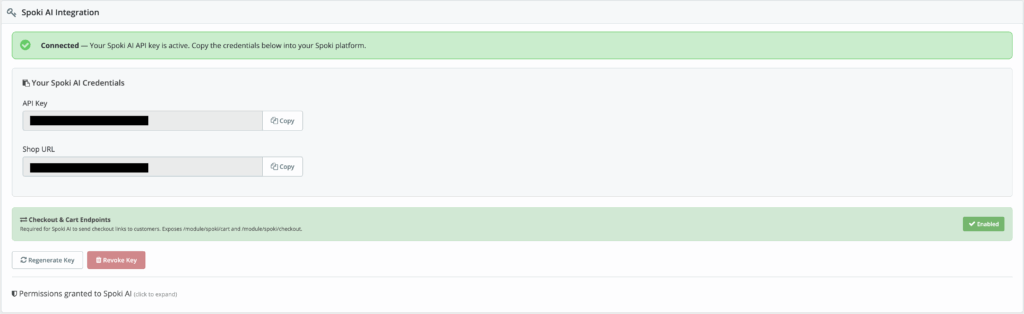
Copy the API Key and URL, to config integration in Spoki.
Part 2: Connecting to Spoki AI #
Now that you have your Prestashop credentials, let’s enter them into your Spoki dashboard.
Step 1: Navigate to AI Integrations in Spoki #
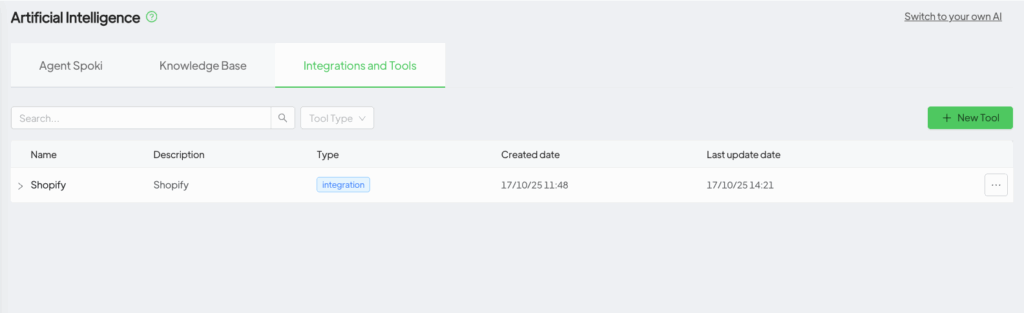
- In your Spoki dashboard, go to the AI section from the left-hand menu.
- Select the Integrations and Tool tab.
- Scroll down to the AI Integrations section and click the Add Integrations button.
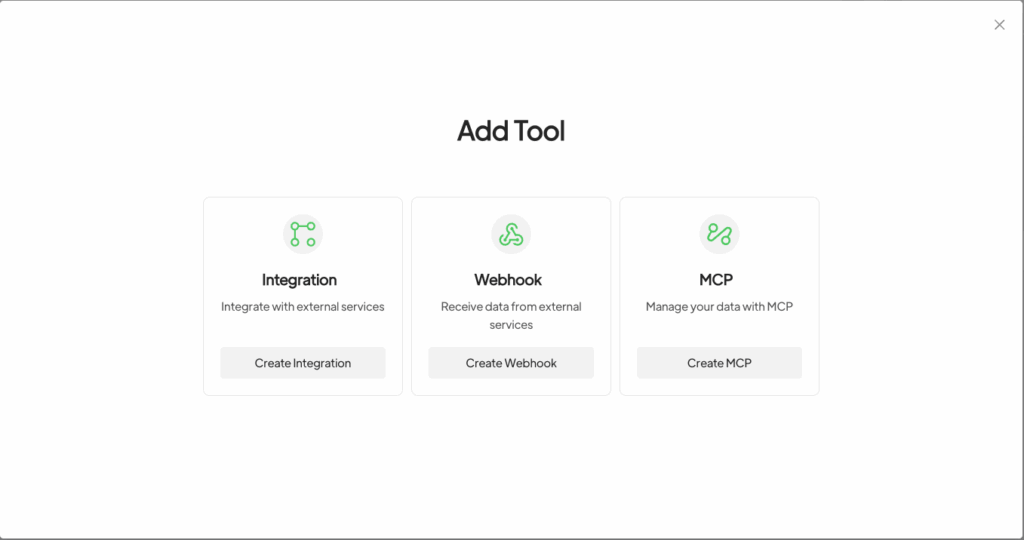
Step 2: Choose the Prestashop Integration #
- A pop-up will appear listing available integrations.
- Click on Prestashop to proceed.

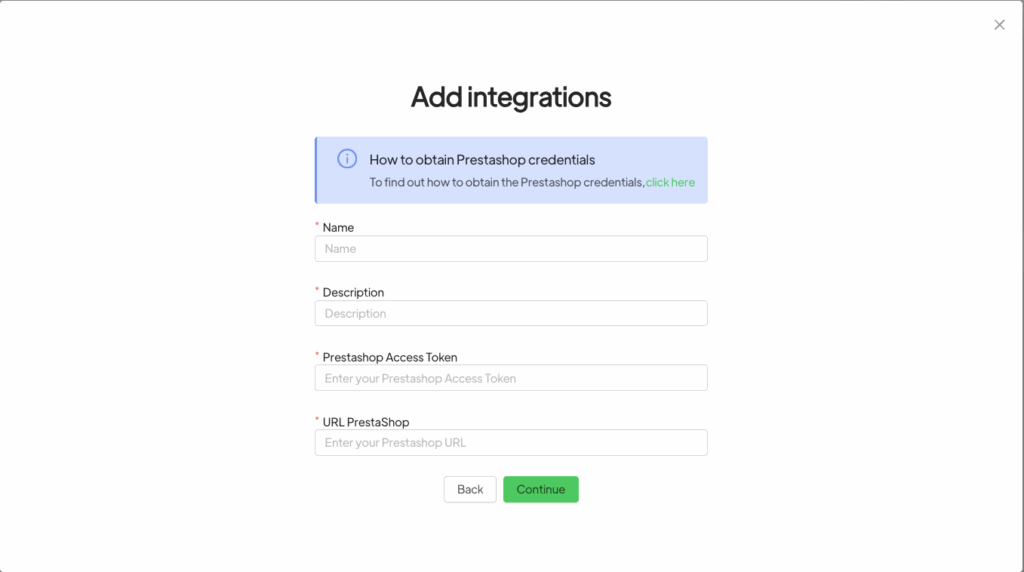
This is where you’ll paste the information you gathered in Part 1.
- Prestashop Access Token: Enter the generated API Key
- URL: Enter your prestashop url address (example: https://my-prestashop-store.com)
Once all fields are filled, click Save.
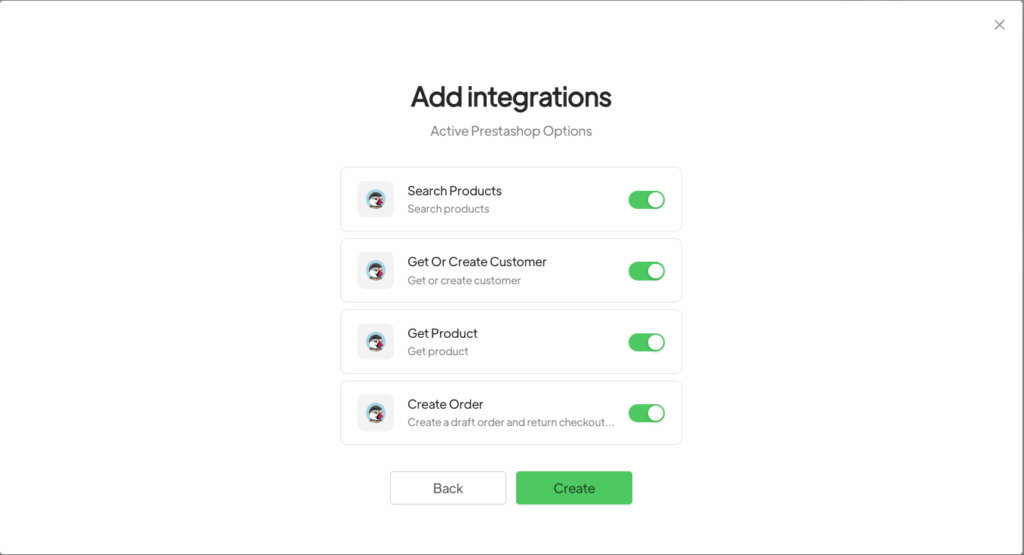
Step 3: Activate Prestashop Options #
After saving your credentials, you will be taken to the final step where you can activate the specific AI functions you want to use.
- Toggle on the features you want the Spoki AI to handle, such as Search Products, Get Product Detail.
- Click Save.
#
Congratulations! Your Prestashop store is now fully integrated with your Spoki AI Sales Agent. The connection is active, and the AI can now use the functions you enabled.


