
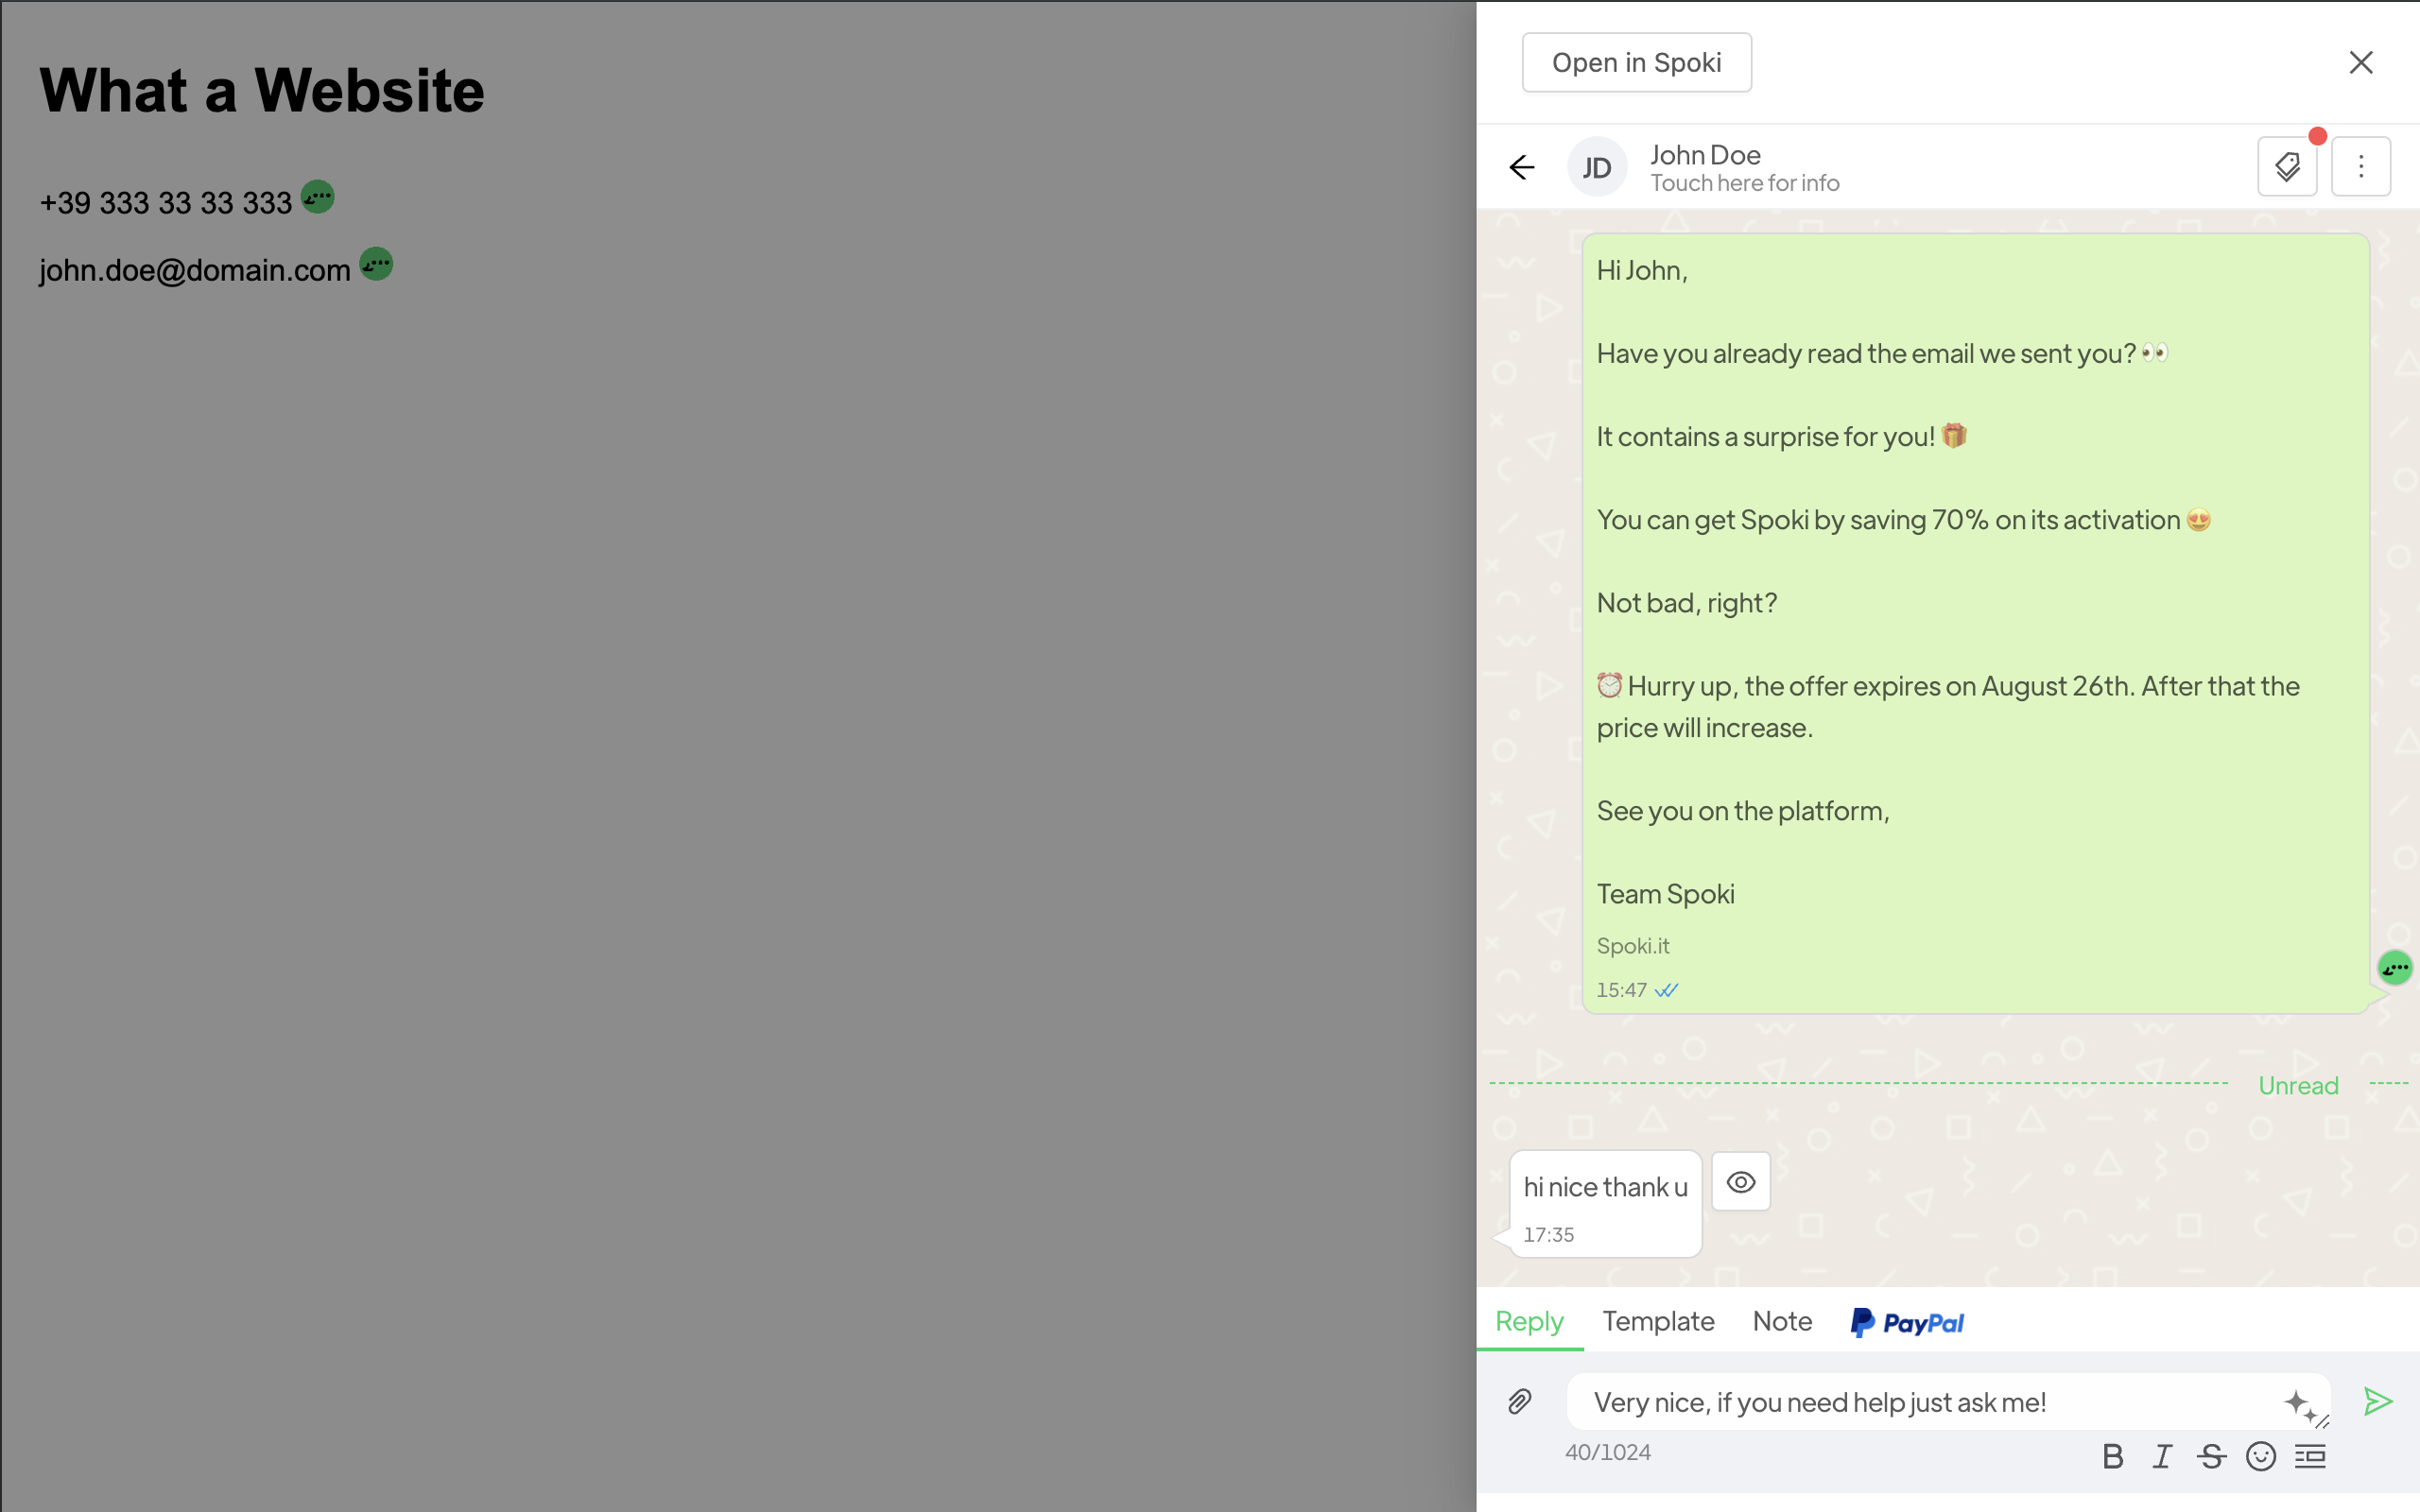
The Spoki – WhatsApp, voice & more Chrome extension lets you send messages, voice notes and more to your contacts directly from any web page. It automatically detects phone numbers and emails on the pages you visit and opens a Spoki chat with a single click: no more copy/paste between tabs.
Sign in once with your Spoki account using secure OAuth: no API Key, no Private Key, no manual configuration.
Getting started #
To set up the extension, follow these steps:
- Install the extension
- Pin the icon to the toolbar
- Connect with Spoki
- Choose your workspace
- Visit a page with phone numbers or emails
- Enable Spoki on the site
- Start chatting
1. Install the extension #
- Open the Spoki – WhatsApp, voice & more page on the Chrome Web Store.
- Click Add to Chrome.
- Confirm by clicking Add extension.
2. Pin the icon to the toolbar #
- Click the extensions icon (puzzle piece) at the top right of Chrome.
- Find Spoki – WhatsApp, voice & more and click the pin icon next to it.
- The Spoki icon will stay visible in the toolbar at all times.
3. Connect with Spoki #
- Click the Spoki icon in the toolbar to open the popup.
- Press Connect with Spoki.
- A new tab opens with the secure OAuth sign-in page.
- Enter your Spoki account credentials and authorize the extension.
Note: in v2 you no longer need an API Key or a Private Key. Authentication is handled entirely via OAuth, securely and without manual configuration.
4. Choose your workspace #
- If you belong to a single Spoki account, the extension selects it automatically.
- If you belong to more than one account, pick the one you want to use from the list.
- You can switch accounts at any time from the extension popup using the Switch account button.
5. Visit a page with phone numbers or emails #
Open any web page (CRM, contact list, email signature, etc.) that shows phone numbers or email addresses. Spoki only acts on the websites you visit — it never scans your browsing history.
6. Enable Spoki on the site #
- When the page loads, a small toggle appears briefly at the bottom right.
- Switch it on to activate Spoki for that domain.
- Your choice is remembered per-site, so you won’t have to enable it again.
Limit Spoki to specific domains (optional) #
From the extension settings you can limit Spoki to specific domains or paths by entering URLs separated by commas. Leave the field empty to enable Spoki on every site (except spoki.app and app.spoki.com, which are skipped automatically).
Pattern formatting rules:
- Start with
http,httpsor*. - Contain the domain with or without wildcards:
example.com,*.example.comor*. - End with a specific path or
*:/pathor/*. - The host must end with a delimiter:
/.
Valid examples:
https://example.com/https://www.example.com/http://example.com/*://example.com/https://*.example.com/https://example.com/pathhttps://example.com/**://example.com/**://*.example.com/**://*/*
Invalid examples:
http://example.comhttps://www.example.*/http*://example.com/example.com
7. Start chatting #
- A green WhatsApp icon appears next to every detected phone number or email on the page.
- Click the icon to open a Spoki chat in a side panel, right inside the page.
- If the contact doesn’t exist yet in your Spoki account, you can create it on the fly and start the conversation.
Note: version 1.x.x of the extension has been deprecated. If you still have it installed, please uninstall it and download v2 from the Chrome Web Store link above.